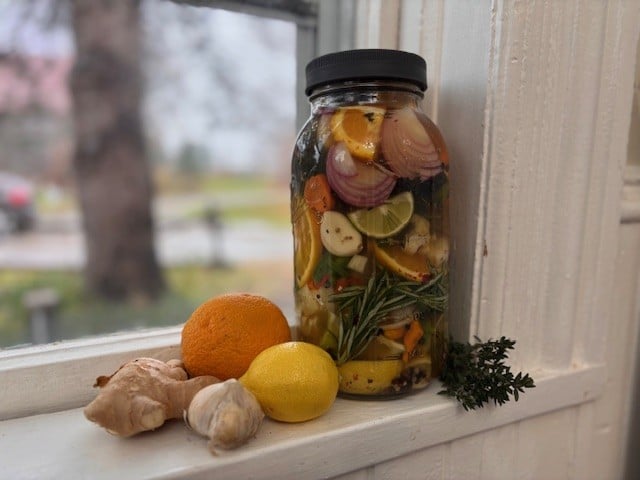
Fire cider is a fun and simple project to make in your kitchen, but it is also one of those beautiful homemade presents that looks just as lovely sitting on the counter as it does tucked into a little gift basket.
As the temperatures begin to drop and we start thinking about the colder months ahead, this is the perfect time to make a batch of homemade fire cider. With a little preparation and some powerhouse ingredients, you’ll have a colourful, flavourful herbal vinegar and immune booster ready to enjoy throughout the winter or package into thoughtful homemade holiday gifts.
If you’ve never made fire cider before, you’ll be surprised at just how easy and customizable it is with what you have on hand! And if you have been following my blog this past year, you know that ingredient variations are a top priority for me to keep recipes simple and flexible.
What Is Fire Cider?
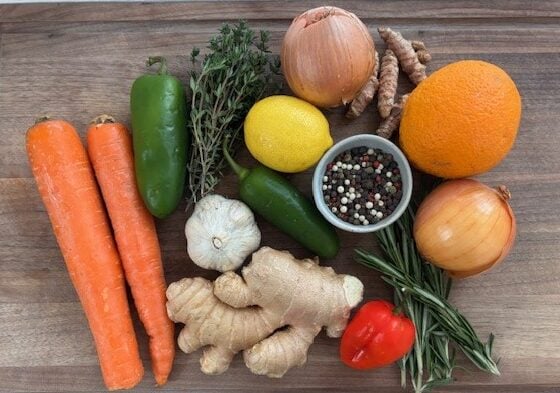
Fire cider is a traditional herbal vinegar preparation thought to boost immunity, made by steeping a combination of roots, citrus, vegetables, herbs and spices in raw apple cider vinegar. The traditional ingredients include garlic, ginger, onion, horseradish and hot peppers. These are combined with apple cider vinegar and left to infuse for several weeks, creating a tangy, spicy and warming liquid. Honey is often added at the end to soften the sharpness of the vinegar and balance the heat. It is usually enjoyed during the colder winter months as part as a seasonal wellness routine.
Ingredients to Make Your Own Fire Cider
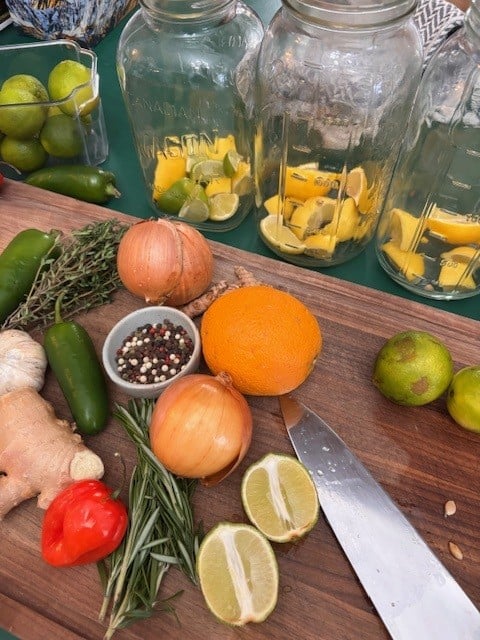
The beauty of fire cider is that there isn’t just one way to make it. You can start with a traditional combination of ingredients and then experiment with different flavours depending on what you have available.
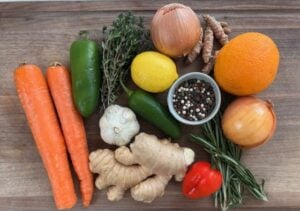
Here are some ingredients to consider: (can use fresh or dried)
- Ginger root
- Horseradish root
- Garlic cloves
- Onion
- Hot peppers, jalapenos and/or cayenne
- Turmeric root
- Lemon, lime, and/or orange
- Rosemary
- Thyme
- Oregano
- Sage
- Cinnamon sticks
- Black peppercorns
- Whole cloves
For sweetness (only after steeping and straining)
- Raw honey
- Maple Syrup
- Stevia
You certainly don’t need to include everything on this list. Start with a few of the traditional ingredients and build from there. I love the idea of adding orange slices, rosemary and cinnamon for a more festive, seasonal variation. I didn’t include cinnamon sticks in mine but I’d love to try that combination next time.
If you enjoy a little extra heat, add more fresh peppers or cayenne. If you prefer something milder, simply leave the hot peppers out or use a smaller amount.
I recommend choosing fresh, good-quality ingredients and organic produce whenever possible.
A note about apple cider vinegar: For the traditional fire cider recipe, choose raw, unfiltered apple cider vinegar with the mother, rather than regular white vinegar or apple cider. Look for a product labelled with 5% acidity. The vinegar is the foundation of the preparation, so this isn’t an ingredient I would substitute casually.
Equipment Required to Make Fire Cider
This fire cider recipes requires only basic equipment to create:
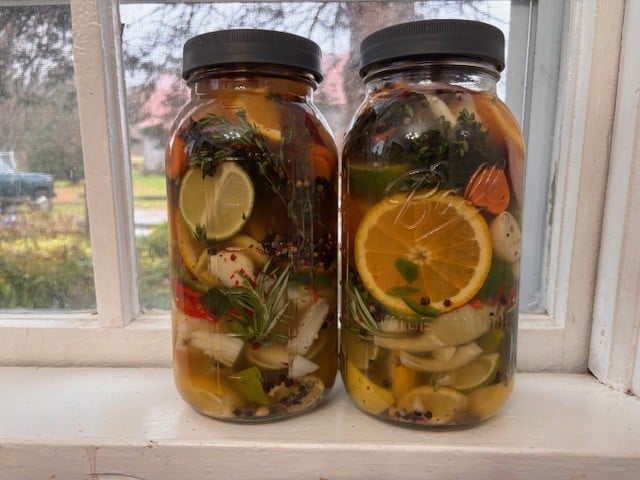
Glass Mason Jars (I prefer to use the 2 quart/8 cup sized jars to make a larger batch for my family and gifting)
Plastic Reusable Screw on Mason Jar Lids – The vinegar can react with the metal lids, but can also just place parchment between lid and jar instead
Glass bottles 25oz is a great size for adding strained cider to a gift basket. You can also use this size for homemade kombucha.
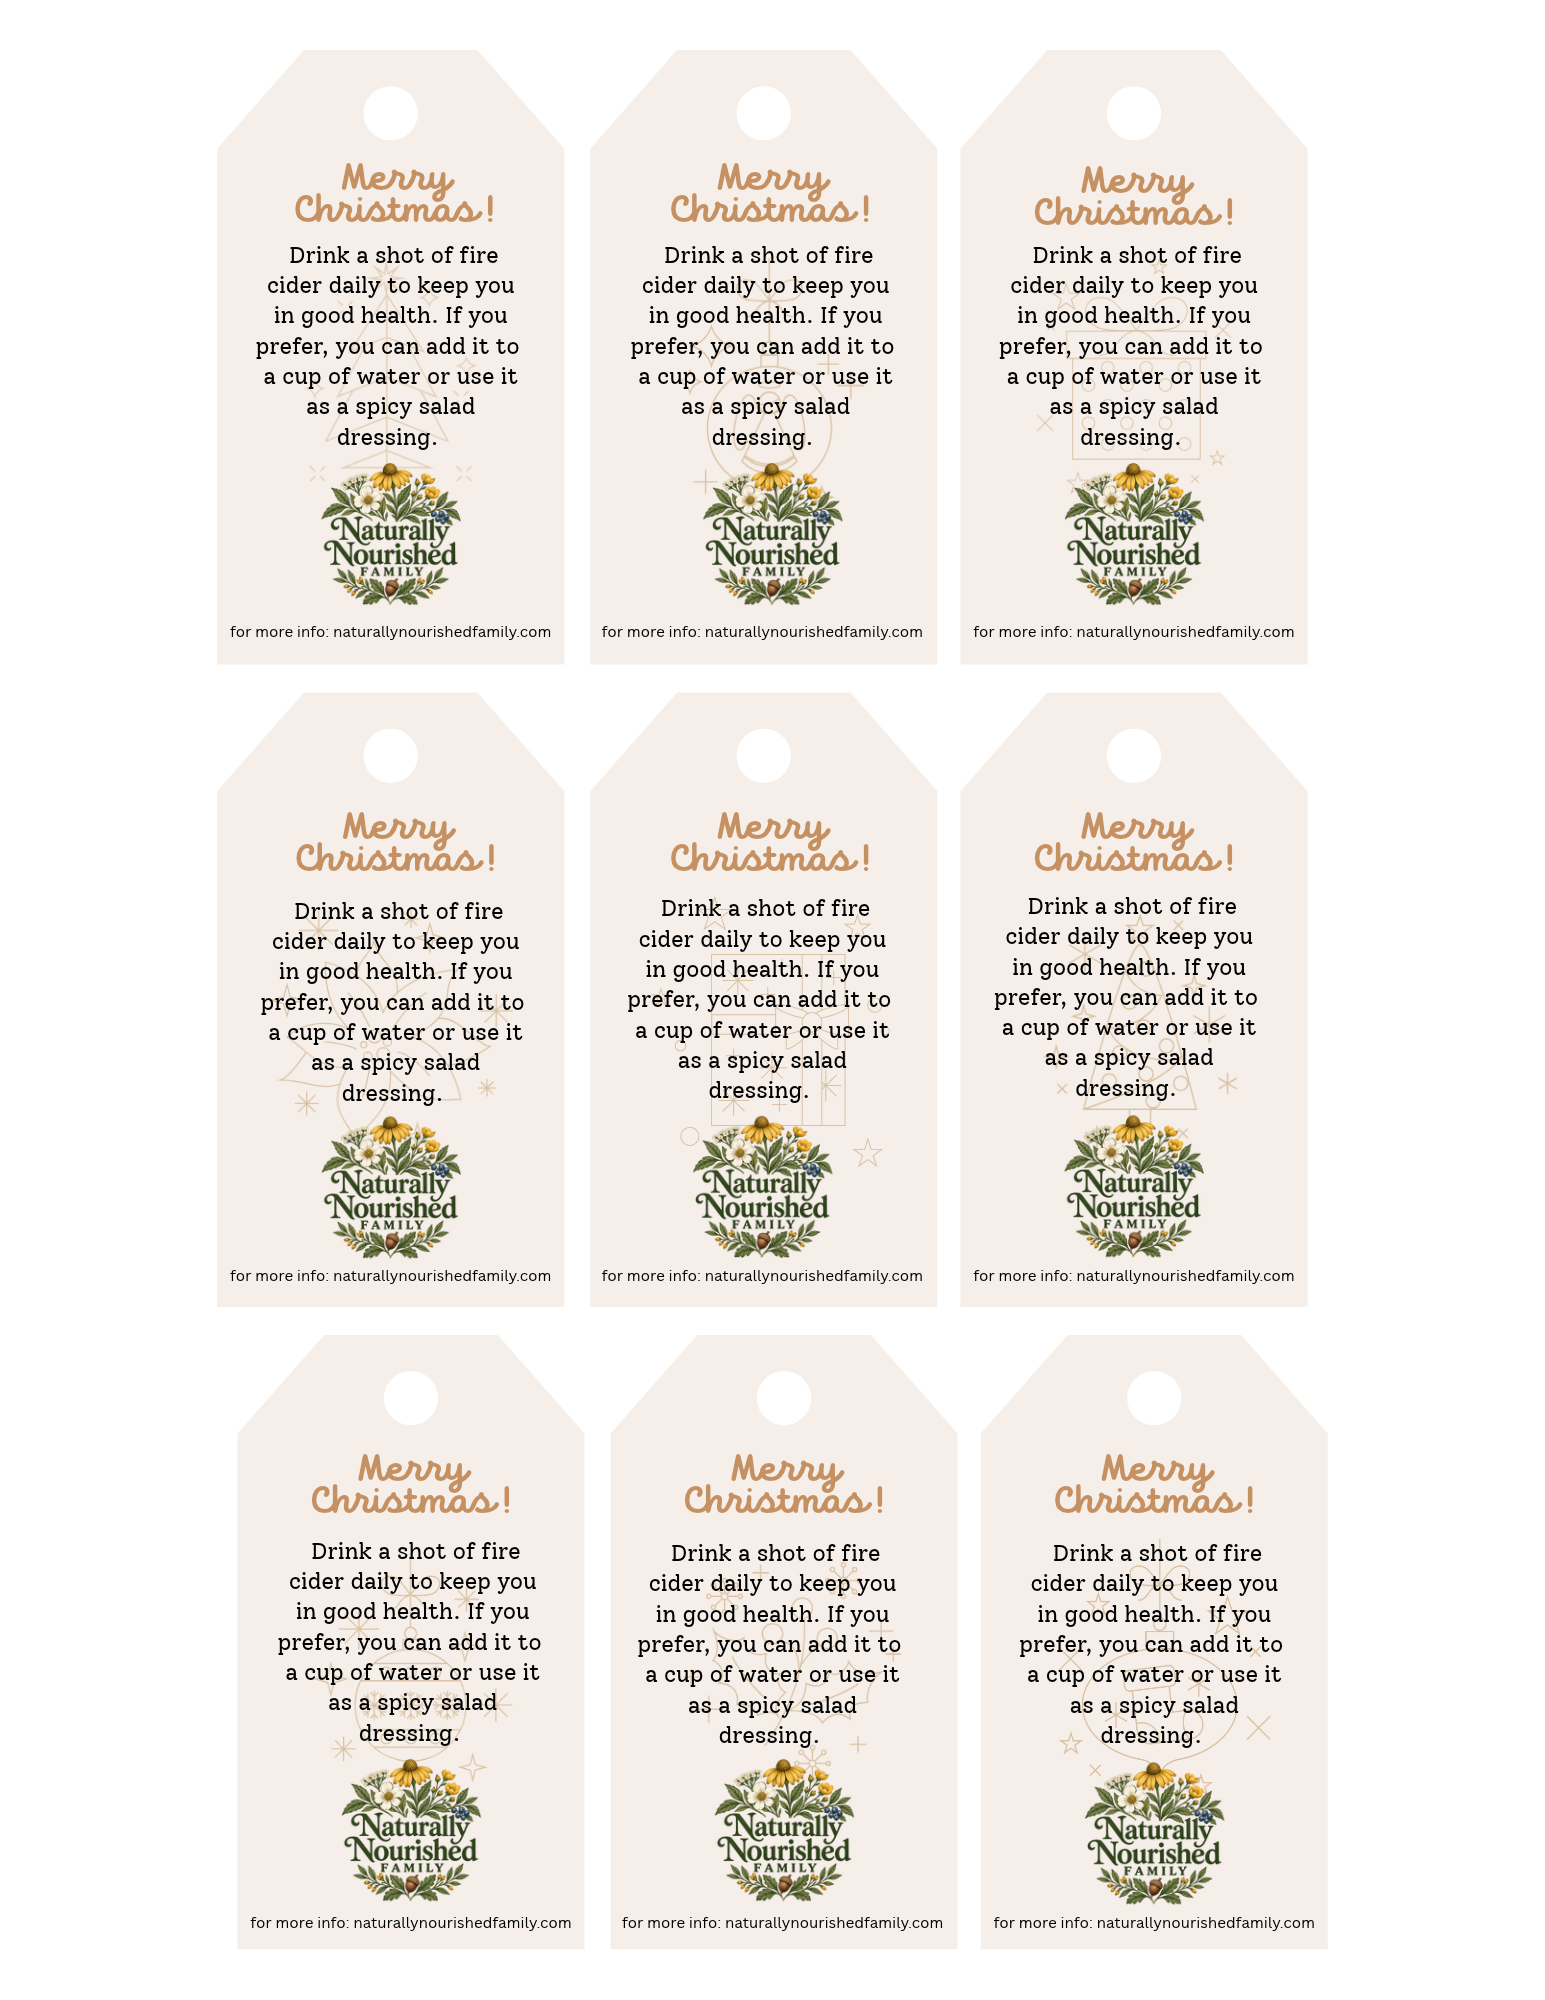
Christmas Twine if gifting (see my free downloadable gift tags here)
*Click on blue links to shop equipment
How Long Does Fire Cider Need to Steep?
One of the my first questions the first time I make fire cider was how long you need to wait before it is ready?
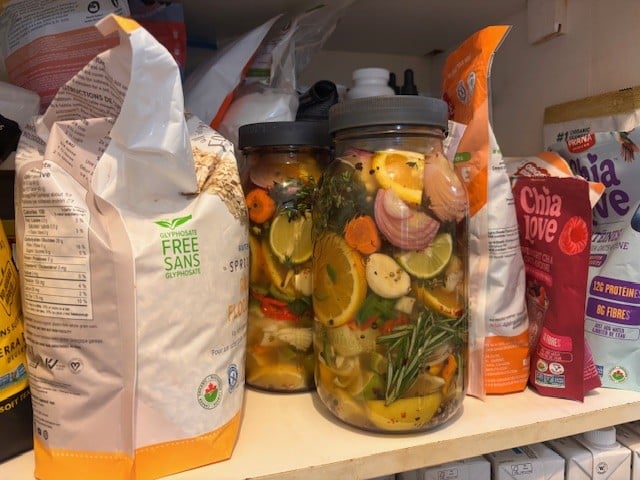
The general recommendation is three to four weeks. Some recipes suggest a little longer, but around one month is what I aim for if I have the time. Early to mid-November is the perfect time to get a batch started! By the time the holidays arrive, your fire cider will have had time to steep, and you’ll have something special to enjoy or share with family and friends.
How to Use Fire Cider
Once your fire cider has finished steeping and has been strained with honey added, there are several ways to enjoy it:
- Diluted in water: Add a small amount to a glass of water for a tangy, spicy drink. Start with a little and adjust to your taste.
- In warm water: Stir a splash into warm water for a warming winter drink.
- In salad dressings: Use it in homemade vinaigrettes with olive oil, honey, mustard and herbs.
- In marinades: Add a little to marinades for chicken, pork or roasted vegetables.
- In soups: A small splash can add brightness and depth to homemade soups and broths.
- As a finishing touch: Drizzle a little into cooked vegetables or use it to brighten up a dish just before serving.
- Avoid consuming it undiluted if you have a sensitive stomach or reflux.
Homemade Fire Cider Makes a Beautiful Holiday Gift
If you’re anything like me, you probably appreciate a thoughtful homemade gift more than another store-bought item.
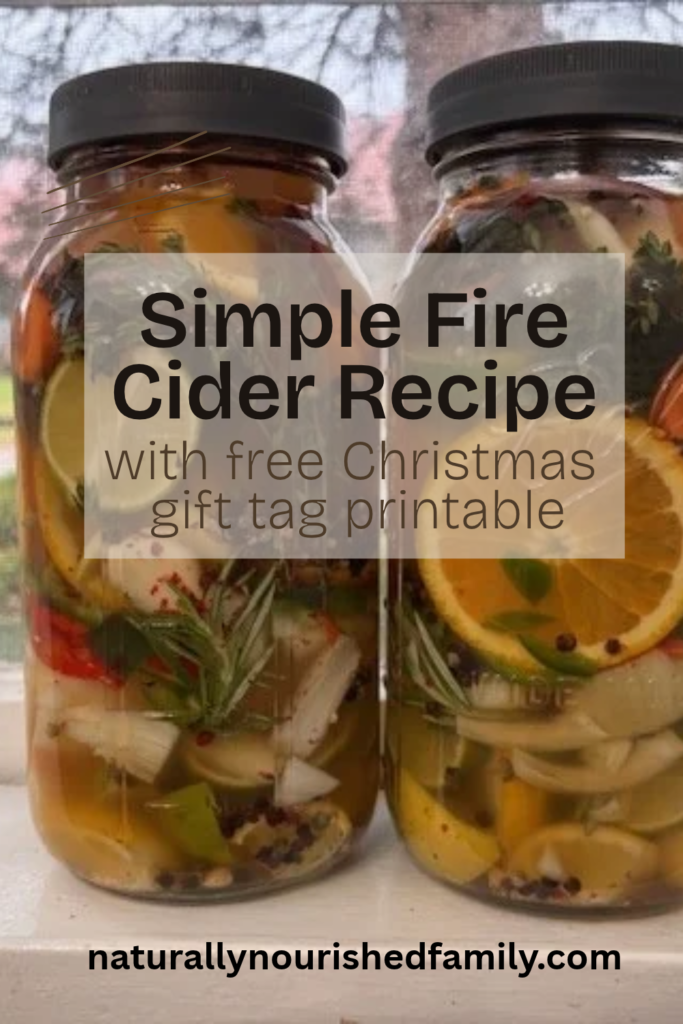
Fire cider is a lovely option for holiday gifting because it is inexpensive to make, easy to prepare in larger batches and looks absolutely beautiful when bottled. You can gift fire cider when it is steeping to show off all of the beautiful ingredients with instructions on how long to steep and strain, or you can wait until you strain it and gift the final product. You could even include a small wooden honey dipper or a jar of local raw honey alongside the steeping bottle.
I purchased these glass bottles with a flip cap and am filling them with the strained cider ready to use. My thought was eliminating the straining step would make the gift more effortless to use.
If you decide to gift Fire Cider this season, feel free to use my downloadable gift tag here. Also have a look at my recipe for all natural chest rub if you’re looking for more family winter wellness recipes.
Homemade Fire Cider: A Traditional Herbal Remedy
Equipment
- 1 Mason Jar I use an 8 cup jar to make a large batch
- Sharp Chef Knife
- Wooden Cutting Board
- Large Fine Mesh Strainer
- Bottles if Gifting I Like the 25 oz. bottles
Materials
- 6-7 cups chopped herbs, peppers, citrus fruits and roots or adjust to your batch size
- 4 cups raw apple cider vinegar with the mother
- 2 Tbsp raw honey adjust to preference
Instructions
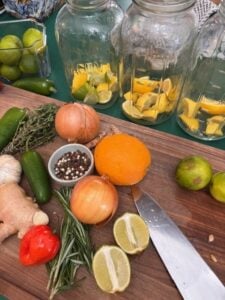
- Wash your fresh ingredients thoroughly. Peel the ginger and horseradish, chop the garlic and onion, and slice citrus and peppers. Roughly chop your ingredients rather than making everything perfectly uniform. The goal is to expose plenty of surface area so the flavours can infuse into the vinegar
- Add your prepared ingredients to a clean glass mason jar. Layering the different colours and textures. I laid sliced oranges flat on the sides of the jar for more drama. Have fun with it
- Pour your apple cider vinegar over everything until all of the ingredients are completely submerged. This is important because exposed pieces can spoil
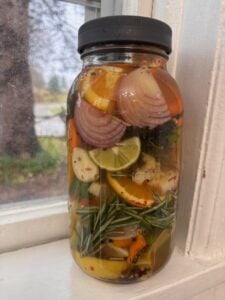
- If your jar has a metal lid, place a piece of parchment paper between the lid and the jar to prevent the vinegar from corroding the metal. A suitable non-reactive lid is another good option (see blog post for where to buy)
- Secure the lid and place your jar in a cool, dark location, away from direct sunlight
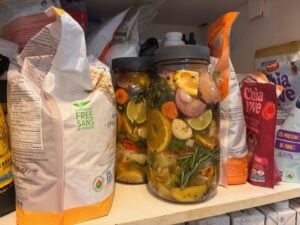
- Steep for approximately three to four weeks, allowing the vinegar to draw out the flavours and compounds from the roots, vegetables and herbs
- Give the jar a gentle shake periodically, checking that all of the ingredients remain submerged
- Strain the mixture through a fine mesh strainer, removing all of the solid ingredients
- Stir in raw honey to taste
- Transfer the finished fire cider into clean glass bottles or jars